
























































































































How to Install Up and Down Outdoor Lights? A Full Guide
Whispering Homes Journal · The Lighting Guide
How to Install Up & Down Outdoor Lights
A step-by-step installation guide. Outdoor lighting is more than just a way to illuminate your home after dark; it's a powerful design element that can elevate the look of your exterior spaces.
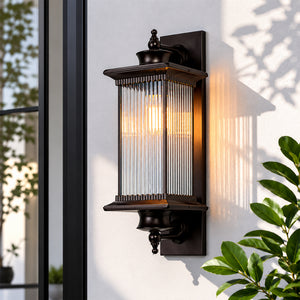
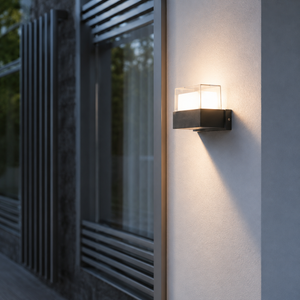
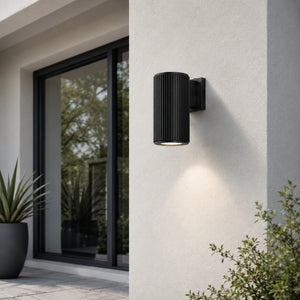
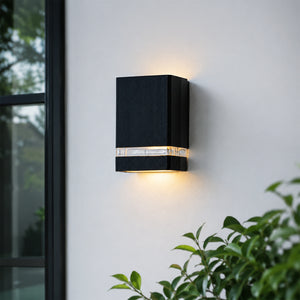
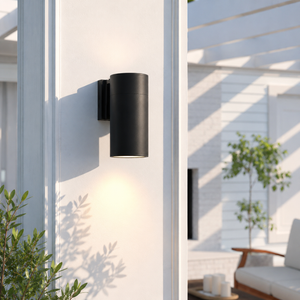
Mount fixtures 5–6 feet above the ground, switch off power at the breaker, and connect live, neutral and ground wires with weatherproof connectors before sealing the edges with silicone. Test the circuit before restoring power. Explore our up and down outdoor wall lights to get started.

Among the many lighting options available, up and down wall lights have gained popularity for their sleek appearance and functional versatility. This guide will walk you through installing outdoor up-and-down lights, turning it into a rewarding DIY project.
Why Choose Up and Down Outdoor Lights?
Aesthetic Appeal
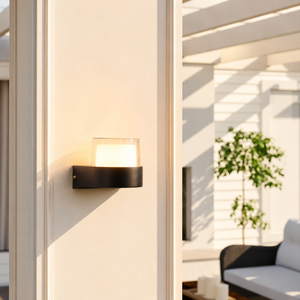
Up and down wall lights add a modern and elegant touch to exterior walls, enhancing your home's overall curb appeal.
Highlight Architecture
These lights are perfect for highlighting textures and architectural features of walls, pillars or columns.
Functional Illumination
Beyond aesthetics, up and down lights improve visibility and safety during nighttime around porches and patios.
Energy Efficiency
Many modern models use LED bulbs that consume significantly less energy while providing powerful illumination.
Tools & Materials You'll Need
Before you begin, gather everything on this list so the installation goes smoothly and without interruption.
- Up/down outdoor light fixture
- Mounting bracket (usually included)
- Exterior electrical box (if not already there)
- Wire nuts (weatherproof)
- Screws & anchors
- Silicone sealant
- Electrical tape
- Outdoor-rated bulbs (if needed)
Safety note: switch off electricity from the main breaker before beginning any electrical work.
Step-by-Step Installation Guide
Follow these six steps for a safe, professional installation. Take your time at each stage, careful preparation is what separates a lasting result from a rushed job.
Plan the Placement
Ideal locations include either side of a front door, along garden walls, beside garage doors, or on patio and balcony walls.
Measure and mark your chosen positions carefully. The recommended installation height is 5–6 feet above the ground. Ensure symmetry between fixtures for a balanced, considered finish.
Prepare the Wiring
Use a voltage tester to confirm no live electricity is present before touching any wires.
Strip the ends of the live (brown/black), neutral (blue) and ground (green/yellow) wires ready for connection.
If no existing power source is available at the location, engage a qualified electrician to run an outdoor-rated electrical cable.
Attach the Mounting Bracket
Drill holes into the wall at your marked points. If mounting onto brick or concrete, insert wall plugs first for a secure anchor.
Screw the mounting bracket firmly to the wall, ensuring it sits flush and level before proceeding.
Connect the Wires
Make the following connections between your house wiring and the fixture:
- Live wire (brown/black) → fixture's live wire
- Neutral wire (blue) → neutral terminal
- Ground wire (green/yellow) → earth/ground terminal
Secure every connection with weatherproof wire connectors and wrap with electrical tape for additional protection.
Install the Fixture
Place the fixture over the mounting bracket, aligning the fixing points. Secure it in place using the screws provided with your fitting.
Apply a bead of silicone sealant around the perimeter of the fixture where it meets the wall. This critical step prevents water ingress and protects the electrical connections from moisture.
Turn On Power and Test
Return to the main breaker and restore electricity to the circuit.
Switch on the light and verify it functions correctly, both the upward and downward beams should illuminate cleanly and evenly. If the fixture does not light, switch off the breaker immediately and recheck your wire connections.
Tips for a Professional Finish
Use LED Bulbs
LED bulbs last significantly longer than traditional incandescent options and consume far less energy, a smart choice for fixtures that stay on through the night.
Match Fixture Style
Coordinate your up and down light finish and form with the rest of your home exterior for a cohesive, considered look that feels intentional rather than incidental.
Motion Sensors or Smart Controls
For added security and convenience, consider integrating motion-sensor features or smart home controls, so your lights respond intelligently to movement and schedules.
Warm Light Temperature
Choose a warm white color temperature (2700K–3000K) for a cosy, inviting exterior glow that enhances architectural texture without the harshness of cool daylight tones.
Shop the Collection
Modern Up & Down Outdoor Wall Lights


Maintenance & Care
Outdoor fixtures endure the elements year-round. A little routine care keeps them performing and looking their best for years to come.
Regular Cleaning
Wipe down fixtures regularly to remove dust and dirt, a soft damp cloth is all you need to keep surfaces looking their best.
Annual Wiring & Seal Check
Inspect wiring and seals once a year, especially after periods of extreme weather or heavy rainfall.
Bulb Replacement
Replace bulbs as needed using the recommended wattage specified on the fixture label to avoid overloading the fitting.
Reapply Silicone Sealant
If you notice any cracks or signs of moisture ingress around the fixture edges, reapply silicone sealant promptly to prevent water damage.
Common Mistakes to Avoid
A few straightforward oversights can turn a rewarding installation into a safety hazard or a costly repair. Keep these in mind.
- Not turning off power: always switch off electricity at the main breaker before beginning any wiring work, never rely on just the wall switch.
- Installing at the wrong height: mounting fixtures too low (below 5 ft) or too high (above 7 ft) reduces their visual impact and functional effectiveness.
- Forgetting to weatherproof connections: exposed wire connections degrade quickly outdoors. Use weatherproof wire nuts and silicone sealant on all junction points.
- Using indoor-rated fixtures outdoors: indoor fixtures lack the IP-rated protection needed for exterior use. Always verify your fitting carries at least IP44 for outdoor environments.
When in doubt, consult a qualified electrician, particularly for new cable runs or panel connections.
Architectural & Heritage Picks
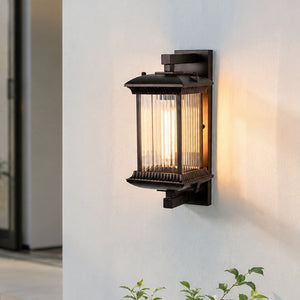
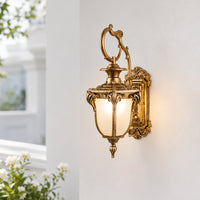
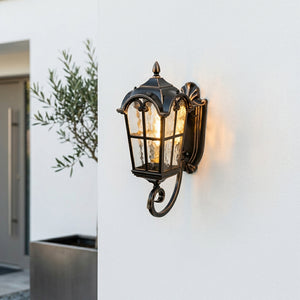
Bronze & Brass Outdoor Wall Lights


A Rewarding Upgrade for Any Home Exterior
Installing up and down outdoor lights can dramatically transform the exterior of your home, offering both style and functionality. Whether you're lighting a walkway, highlighting a feature wall, or simply adding to your home's curb appeal, outdoor up and down lights are a worthy investment. With the right preparation and tools, it's a manageable project even for beginner DIYers.
Explore Outdoor Lighting CollectionFrequently Asked Questions
What are up and down outdoor wall lights?
Up and down outdoor wall lights are exterior fixtures that emit light simultaneously in two directions, upward and downward. They are mounted on exterior walls and widely used to highlight architectural features, create dramatic facades, and improve visibility and safety around entrances, driveways and garden walls.
How high should I install outdoor up and down wall lights?
The recommended installation height is between 5 to 6 feet (approximately 150–180 cm) above the ground. This height ensures effective illumination of the surrounding area while casting an attractive bi-directional glow on the wall surface.
Can I install outdoor up and down lights myself?
Yes, installing outdoor up and down lights is a manageable DIY project for those with basic electrical knowledge. The key steps include planning placement, preparing the wiring, attaching the mounting bracket, connecting the wires, fitting the fixture and testing. Always switch off the main electricity supply before starting and use a voltage tester to confirm no live current.
What bulb type is best for outdoor up and down lights?
LED bulbs are the best choice. They are energy-efficient, have a longer lifespan than incandescent bulbs, and are available in warm white color temperatures (2700K–3000K) that create a welcoming, cosy glow suitable for exterior use.
Do up and down outdoor lights work with motion sensors?
Yes, many modern outdoor up and down light fixtures are compatible with motion sensor modules. You can either purchase a fixture with a built-in sensor or add an external sensor switch, which is especially useful for driveways, entrances and security zones.
How do I weatherproof outdoor wall light installations?
Use weatherproof wire nuts for all electrical connections, apply silicone sealant around the edges of the fixture where it meets the wall, and ensure the fixture carries an appropriate IP rating (IP44 or higher) for outdoor use. Inspect seals annually and reapply sealant if cracks are found.
Can up and down lights be installed on any exterior wall material?
Yes, but the mounting method changes with the material. Brick and concrete need wall plugs for a secure anchor, while wood or siding may take screws directly. Confirm the wall can support the fixture's weight before drilling.
Do I need a permit to install outdoor wall lights?
Simple fixture swaps on existing wiring usually don't require a permit, but running new outdoor-rated cable or adding a new circuit may. Check your local electrical codes, and hire a licensed electrician for anything beyond a straightforward fixture replacement.
How much does it typically cost to install up and down outdoor lights?
Cost depends on the fixture and whether new wiring is needed. A straightforward swap onto existing wiring is largely the price of the fixture itself, while adding a new circuit or hiring an electrician for the wiring adds to the total.