






























































How to Install Cluster Pendant Lights Like a Pro: Step-by-Step Guide

How to Install Cluster Pendant Lights Like a Pro
A step-by-step guide to a flawless, professional-grade installation
Installing cluster pendant lights takes 8 steps: plan the layout, cut power and prep the ceiling, mount the bracket, wire the fixture, attach the canopy, adjust pendant heights, fit the bulbs, then test. Always switch off power at the breaker before touching any wiring.
Lighting can completely transform the look and feel of your home. Among the many stylish options available today, cluster pendant lights have gained immense popularity for their ability to create a warm, sophisticated, and visually striking atmosphere. Whether hung above a dining table, kitchen island, or in a cozy living room corner, these versatile fixtures bring both function and flair to any space.
But installing cluster hanging lights might seem intimidating if you've never worked with lighting before. The good news? With the right guidance, tools, and attention to safety, you can achieve a professional-grade installation on your own. This comprehensive step-by-step guide will walk you through the process of installing cluster ceiling lights like an expert—enhancing your home's ambiance while ensuring electrical safety and lasting performance.
Why Choose Cluster Pendant Lights?
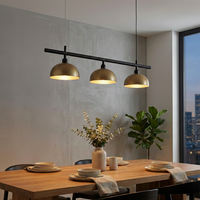
Before diving into the installation process, let's understand why cluster lights are a top choice for modern interiors. Cluster pendant lights are essentially multiple light pendants grouped together, suspended at varying heights to create a dynamic, layered lighting effect. This style works beautifully in both minimalist and luxurious spaces, offering depth and dimension to the room.
- Aesthetic appeal: Their cascading arrangement makes them a statement décor element
- Customizable: Adjust cord lengths, light intensity, and bulb types to match your room
- Versatile: Perfect for living rooms, dining areas, staircases, or entryways
- Functional: Provide both task lighting and ambient illumination
Whether you're enhancing a high ceiling or adding drama to a cozy corner, cluster lights for living room settings can elevate your décor from ordinary to outstanding.
Tools and Materials You'll Need
Before beginning, make sure you have the right tools and materials ready. Here's a checklist to make your installation smooth:
Tools
- Ladder or step stool
- Screwdriver set (flat & Phillips)
- Voltage tester
- Wire stripper
- Drill and bits
- Measuring tape
- Pencil or marker
Materials
- Cluster pendant light fixture
- Mounting bracket and screws
- Ceiling plate or canopy
- Wire nuts/connectors
- Electrical tape
- Light bulbs (compatible with fixture)
- Optional: Cable clips for neat arrangement
Pro Tip: Always switch off the power at the main circuit breaker before working with electrical wiring.
Step-by-Step Installation Guide
Let's break down the process into simple, manageable steps. Follow each one carefully to achieve a flawless installation.

Step 1: Plan Your Lighting Layout
The first step is planning where your cluster lights indoor fixture will go. Consider both function and aesthetics:
- For dining rooms, center it above the table.
- In living rooms, align it with the main seating area.
- For stairwells, place it slightly off-center for a cascading effect.
Measure the ceiling height and the space where the fixture will hang. Leave enough clearance—about 30 to 36 inches above surfaces like tables or countertops.
Pro Tip: Sketch out your plan or use masking tape to visualize the position of each pendant before installation.

Step 2: Turn Off Power and Prepare the Ceiling
Safety comes first. Go to your circuit breaker panel and switch off the power to the area you'll be working on. Double-check using a voltage tester to ensure there's no electricity flowing through the wires.
Remove the old fixture, if there is one. Unscrew it carefully, disconnect the wires, and take note of how they were connected (you'll repeat a similar process later).
Check the electrical box—ensure it's securely attached to a ceiling joist and capable of supporting the weight of your cluster ceiling lights.
Install the Mounting Bracket
Your cluster pendant light will come with a mounting bracket or plate that attaches to the ceiling box.
- Hold the bracket up to the ceiling box and align it with the screw holes.
- Use a drill to secure it in place.
- Make sure it's tight and level, as this will support the entire fixture.
Pro Tip: If your ceiling box is old or unstable, replace it with a new one rated for ceiling fixtures before continuing.

Step 4: Connect the Electrical Wires
This is the most important step—connecting the electrical wires correctly ensures safety and functionality.
1. Match the wires:
- Black (live) from the ceiling to black on the fixture.
- White (neutral) from the ceiling to white on the fixture.
- Green or bare (ground) wire from the fixture to the ground wire from the ceiling or to the green screw on the mounting bracket.
2. Use wire nuts to secure the connections and wrap each one with electrical tape for added safety. 3. Tuck the wires neatly into the electrical box.
Pro Tip: For fixtures with multiple pendants, connect all fixture wires to the ceiling wires using a junction block or terminal connector for cleaner management.

Step 5: Attach the Ceiling Canopy
Now that your wiring is complete:
- Slide the canopy up over the mounting bracket.
- Align the screw holes and fasten them securely.
- Ensure it sits flush against the ceiling without wobbling.
The canopy not only conceals wiring but also gives your cluster hanging lights a polished, professional finish.
Adjust Pendant Heights
This step adds personality to your setup. Most cluster pendant lights feature adjustable cords or rods, allowing you to customize how each pendant hangs.
- Loosen the cord grip on each pendant.
- Adjust to your desired height—vary lengths for a cascading effect or keep them uniform for a cleaner look.
- Tighten the cord grips once you're satisfied.
Pro Tip: When grouping pendants, maintain visual balance. For example, in a three-light cluster, a triangular arrangement looks elegant and centered.

Step 7: Install the Bulbs
Install the light bulbs compatible with your fixture. Check the wattage recommendation—most cluster lights use LED or E27 bulbs for energy efficiency and brightness control.
Choose the bulb color temperature based on your space:
- Warm white (2700–3000K): Cozy and inviting for living rooms and bedrooms.
- Cool white (4000K): Balanced and bright, ideal for kitchens or dining areas.
- Daylight (5000K+): Crisp and energizing, great for workspaces.
Pro Tip: Consider using dimmable bulbs to control brightness and mood effortlessly.

Step 8: Test Your Installation
Turn the power back on at the breaker. Flip the wall switch to ensure your new cluster lights work properly. If they don't light up:
- Recheck wire connections.
- Ensure bulbs are correctly fitted.
- Verify that the switch and circuit are active.
Once the lights are working, step back and admire your handiwork.
Maintenance and Styling Tips
Installing your cluster lights indoor fixture is only the beginning. With the right care and styling, it can remain a centerpiece for years to come.
Regular Maintenance
- Dust weekly: Use a microfiber cloth or feather duster to keep the pendants clean.
- Check connections: Every few months, ensure the canopy and cords remain secure.
- Replace bulbs carefully: Always switch off the power before changing bulbs.
Styling Ideas
- Pair your cluster lights for living room with warm neutral tones and metallic accents for a luxurious look.
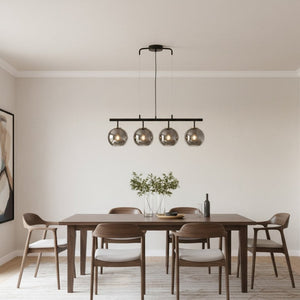
- Over a dining table, choose clear glass or globe pendants for a classic touch.
- For stairwells or entryways, experiment with asymmetrical heights to create visual drama.
Common Mistakes to Avoid
Even the most enthusiastic DIYers can make mistakes. Here are a few to steer clear of:
Skipping power check
Can lead to electric shock
✓ Always test with voltage tester
Incorrect wire matching
Fixture won't work or may short
✓ Match black to black, white to white
Weak ceiling box
Risk of fixture falling
✓ Replace with a rated electrical box
Uneven pendant lengths
Throws off visual balance
✓ Measure and adjust cords evenly
Using wrong bulb wattage
Can overheat or flicker
✓ Follow manufacturer guidelines
Loose mounting bracket
Can make the fixture unstable or unsafe
✓ Secure the bracket firmly and check that it is level
Benefits of Installing Cluster Lights Yourself
Taking the DIY route doesn't just save you money—it gives you control over every detail. Here's what you gain by doing it yourself:
Customization: You can fine-tune pendant height, brightness, and bulb style to your taste.
Cost savings: Professional installation can be expensive—DIYing helps you cut costs without compromising results.
Skill-building: You'll gain confidence for future home improvement projects.
Pride of ownership: There's unmatched satisfaction in knowing you installed a beautiful lighting fixture yourself.

Troubleshooting Tips
If your cluster pendant lights aren't functioning as expected, here are quick solutions:
Lights Flicker
Check for loose bulbs or unstable wiring connections. Tighten all components securely.
One Light Doesn't Work
Test that specific bulb in another socket—it might be faulty and need replacement.
Fixture Sways
Tighten the ceiling mount and adjust cord tensions to ensure stable, secure installation.
Quick Reference: Bulb Color by Room
- Living Room & Bedroom: Warm white, 2700–3000K
- Kitchen & Dining: Cool white, 4000K
- Home Office: Daylight, 5000K+
- Staircases & Entryways: Warm white with dimmable option
Final Thoughts
Installing cluster pendant lights may seem like a challenging task at first, but with patience, precision, and safety precautions, you can achieve a stunning professional-grade result. These lights aren't just functional—they add depth, elegance, and a sense of modern luxury to any room.
Whether you're upgrading your living room, enhancing your dining area, or making a grand statement in the foyer, cluster hanging lights bring the perfect blend of charm and illumination. By following this guide, you can confidently handle the installation yourself—transforming your space into a beautifully lit masterpiece.
So grab your tools, turn off that power switch, and bring your dream lighting to life—because nothing elevates a home quite like the glow of perfectly installed cluster ceiling lights.
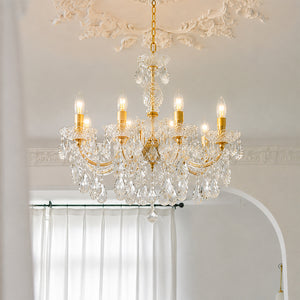
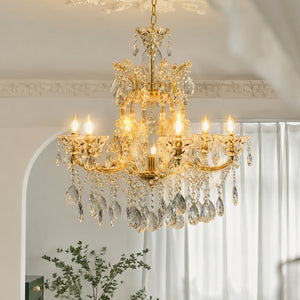
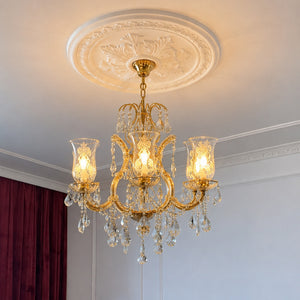
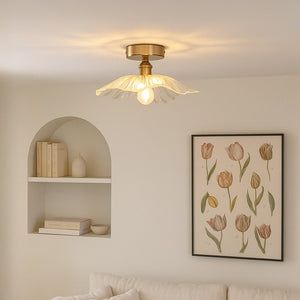
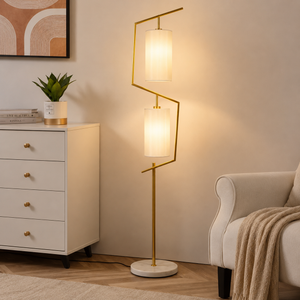
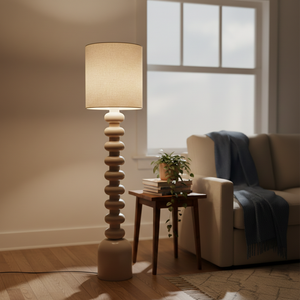
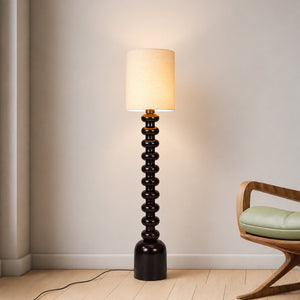
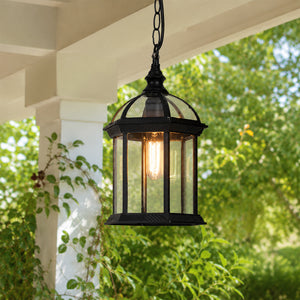
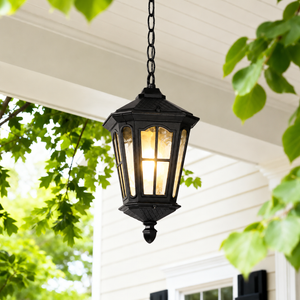
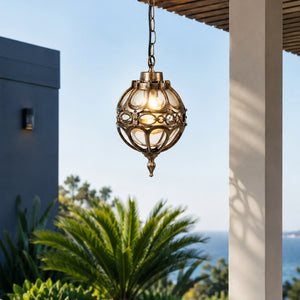
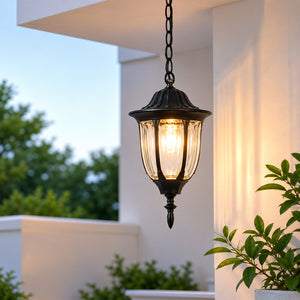
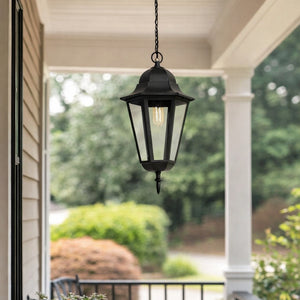
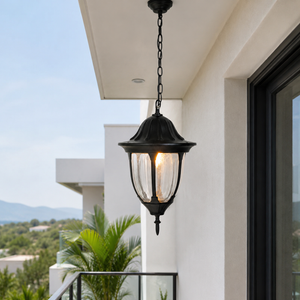
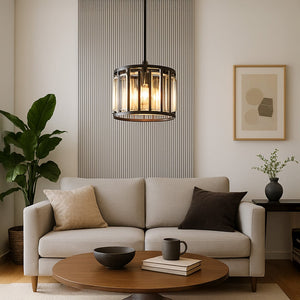
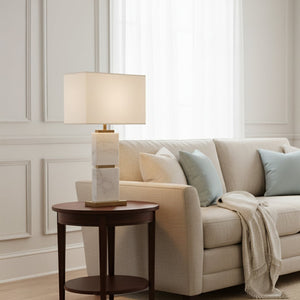
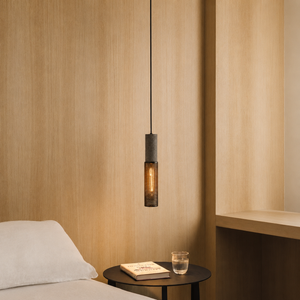
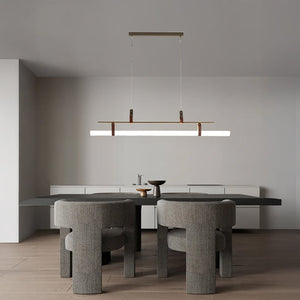
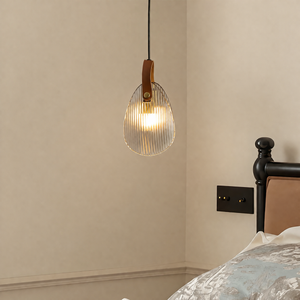
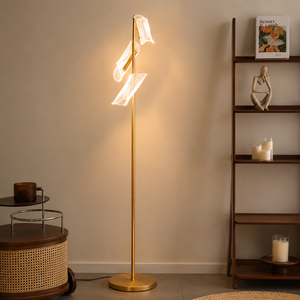
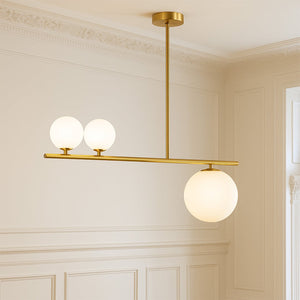
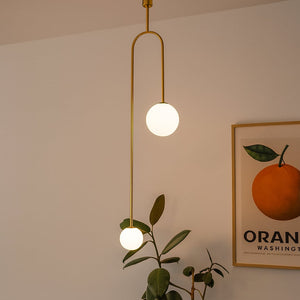
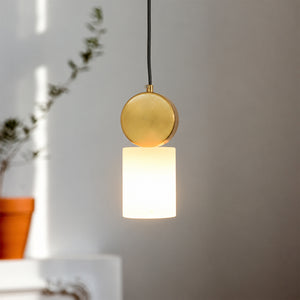
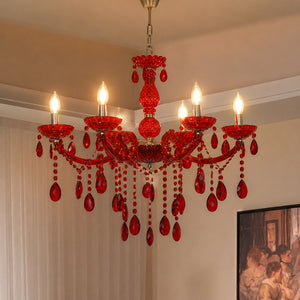
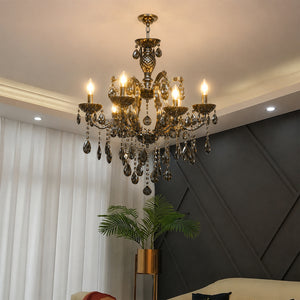
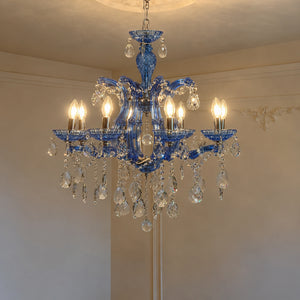
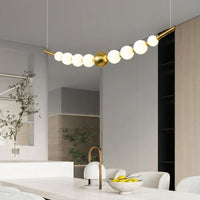
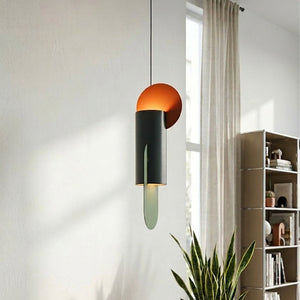
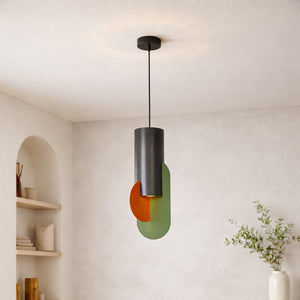
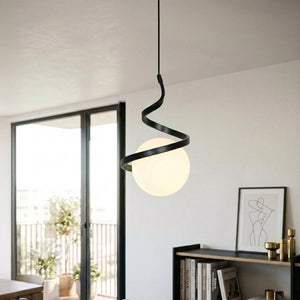
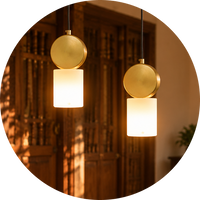
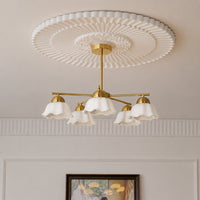
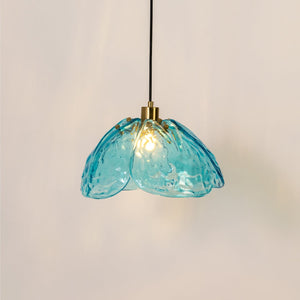
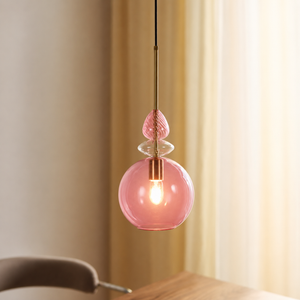
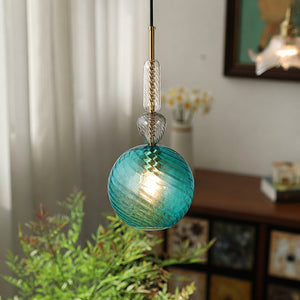
Featured Cluster Pendant Lights
Discover our curated collection of elegant cluster pendant lights to elevate your space.


Frequently Asked Questions
QDo I need an electrician to install cluster pendant lights?
Not necessarily. Most cluster pendant lights can be installed as a DIY project if you're comfortable working with basic electrical wiring and always switch off power at the breaker first. If your ceiling box is old, unstable, or you're unsure about the wiring, hiring an electrician is the safer choice.
QHow long does it take to install cluster pendant lights?
A straightforward installation typically takes 1 to 2 hours, including planning the layout, wiring, and adjusting pendant heights. Replacing an old fixture or dealing with a weak ceiling box can add extra time.
QHow many pendants should be in a cluster light?
Three pendants is the most common and versatile choice, especially arranged in a triangular pattern for visual balance. Larger dining tables or open living areas can handle five or more pendants for a fuller effect.
QCan cluster pendant lights be installed on a sloped or vaulted ceiling?
Yes, many cluster fixtures come with adjustable canopies or sloped-ceiling kits designed for angled surfaces. Check the product specifications before purchase to confirm compatibility with your ceiling type.
QHow do I know if my ceiling box can support a cluster fixture?
The electrical box should be rated for ceiling fixtures and securely attached to a ceiling joist, not just drywall. If your existing box feels loose or is only rated for a light switch or outlet, replace it with one rated for the weight of a hanging fixture.
QWhat's the difference between cluster pendant lights and a chandelier?
Cluster pendant lights are multiple individual pendants grouped together on one ceiling plate, each often at a different height for a layered look. A chandelier is typically a single fixed fixture with several arms or light points branching from a central frame.
QWhat color temperature bulb is best for cluster pendant lights?
Warm white (2700–3000K) suits living rooms and bedrooms for a cozy feel, cool white (4000K) works well over kitchen islands and dining tables, and daylight (5000K+) is best for task-focused spaces like workstations.
Related Articles
Continue exploring our lighting guides and expert tips.
